Live insects are an essential dietary component of many commonly kept bird species. Although they’re commonly available in pet stores, it’s much more economical to raise them in-house. In this article, we explain how to breed them in large numbers to provide a consistent supply of live food.
What exactly is a mealworm?
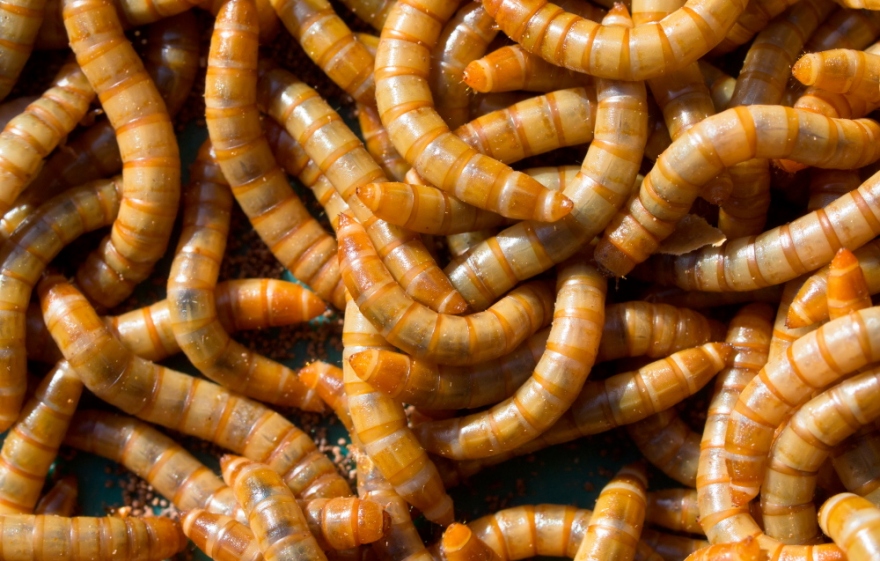
A ‘mealworm’ is the larvae of a darkling beetle, which is a family of insects containing an estimated 20,000 species. The specific species used as food for pets is Tenebrio molitor, though a handful of other subspecies are also produced commercially.
They have an extremely short lifecycle, low care requirements, and high protein content; making them a popular choice for feeding birds, reptiles, and small carnivorous mammals.
Breeding requirements
There’s two common approaches to breeding mealworms. The first is having the larvae, pupa, and beetles all together in one container, and the second is breaking each lifecycle into a separate container. This article will focus on the second approach.
Here’s what you’ll need to get started:
#1 — Two containers (with lid) to house and maintain them
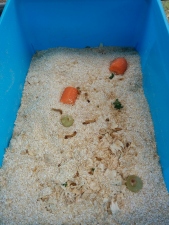
Plastic tubs work best, and the size doesn’t really matter. Anything bigger than a 4 litre ice-cream tub but smaller than a bathtub Shallow containers of about 15cm depth work best. If the container seals shut, you may need to put some air holes into the top.
#2 — A substrate
Ideally, the substrate should double as a food supply. Any fine grain-based substrate will be adequate—good choices include bran, rolled oats, or chook pellets. Supermarket brand oat bran is my preferred substrate, as it’s a good mealworm food source and also very cheap.
#3 — A moisture source
A piece of fruit or vegetable that can provide the tiny amount of moisture mealworms require to survive. A small slice of carrot is most commonly used. Don’t provide too much moisture or else the substrate could become damp and mould growth may become an issue.
#4 — Some mealworms
Most good pet stores stock live mealworms. You only need a handful initially, as each one will eventually turn into a beetle that can lay 500 eggs.
Breeding mealworms
Place your mealworms, substrate, and moisture source into a single container. Depending on how warm the weather is, it will take between a few weeks and a few months for them to begin transitioning into pupae. Check on the worms periodically and replace the moisture source if it has become too dry.
Once the worms have transformed into pupae, transfer them into another container that’s been setup exactly the same way as the first. After a few more weeks, the beetles will begin to emerge from the pupae. Within a couple more weeks, the beetles will have turned black and begin to breed. Each female can lay up to 500 eggs.
Once the eggs start hatching and you notice tiny mealworms appear, you can move the beetles to another prepared container so that they may produce a second batch of mealworms.
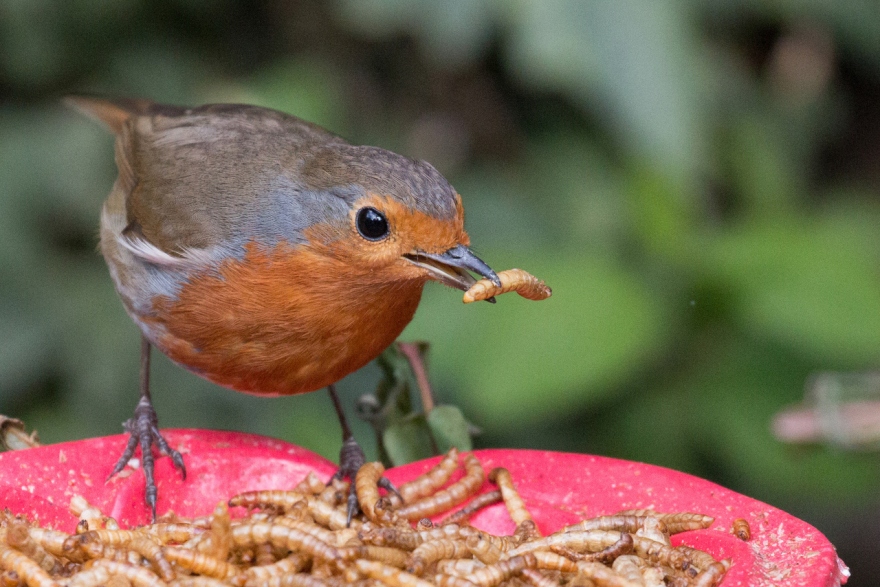
Once the mealworms have grown sufficiently large, you can feed them out to your birds. Be sure to save a few worms so that they may be used to re-start the cycle.
Final note about safety
Mealworm excrement is a very fine dust that can cause allergic reactions in some people. If you find yourself having hayfever-like symptoms or respiratory issue after handling your mealworm farm, you may need to wear protective equipment or stick to buying them commercially.